
Home » Wallcovering & Wallpaper Installation » How to install vinyl wallpaper?
Updated June 2025
Vinyl wallpaper is a popular choice for Colorado homeowners looking to upgrade their interiors with something stylish, durable, and easy to maintain.
For durable, moisture-resistant materials like vinyl, many homeowners rely on experienced wallpaper installation professionals in the Denver metro area to ensure proper adhesion and long-term performance.
Whether you live in Denver, Aurora, or Boulder, understanding the installation process helps ensure great results — especially when working with expert installers like EnjoyTheWall, with outcomes influenced by the wallcovering materials and finishes selected for your project.
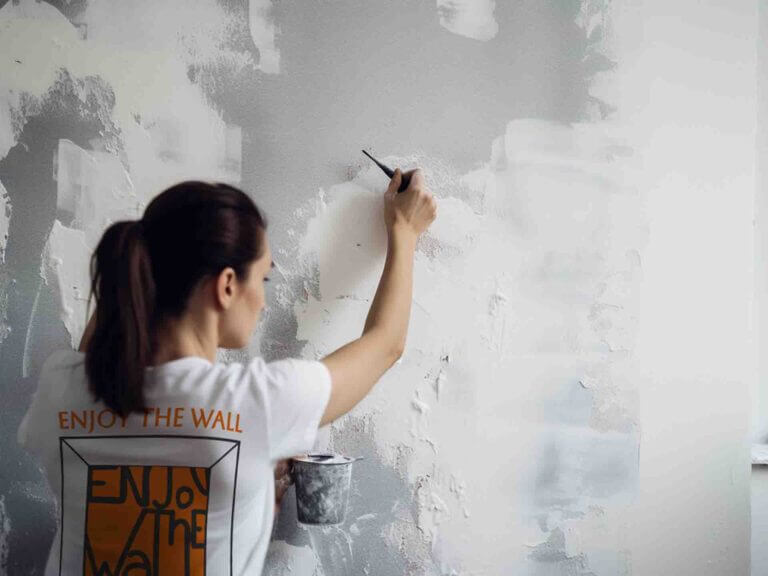
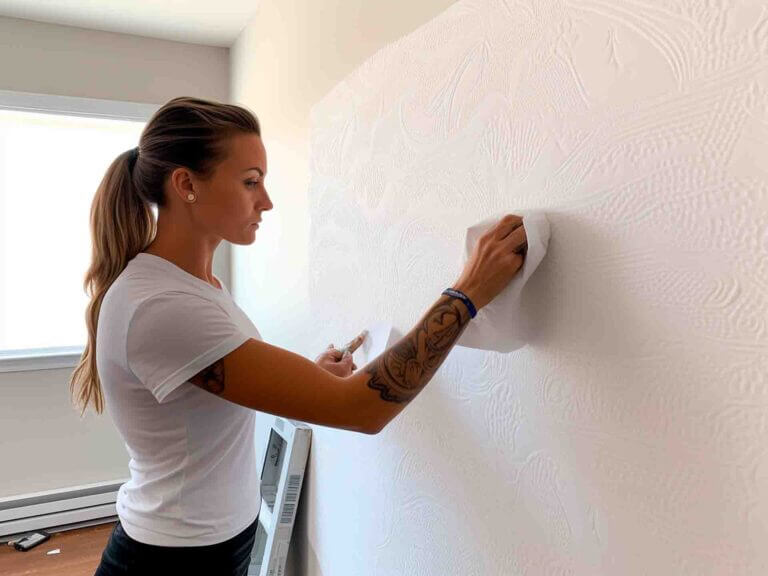
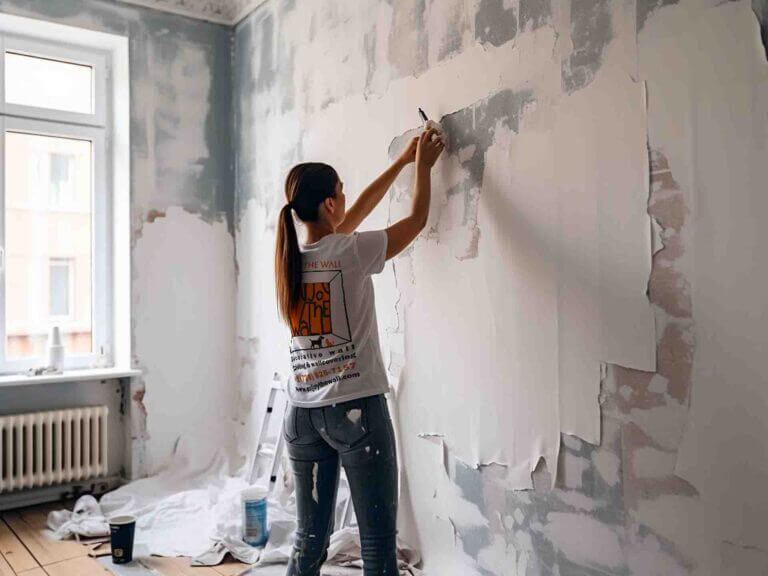
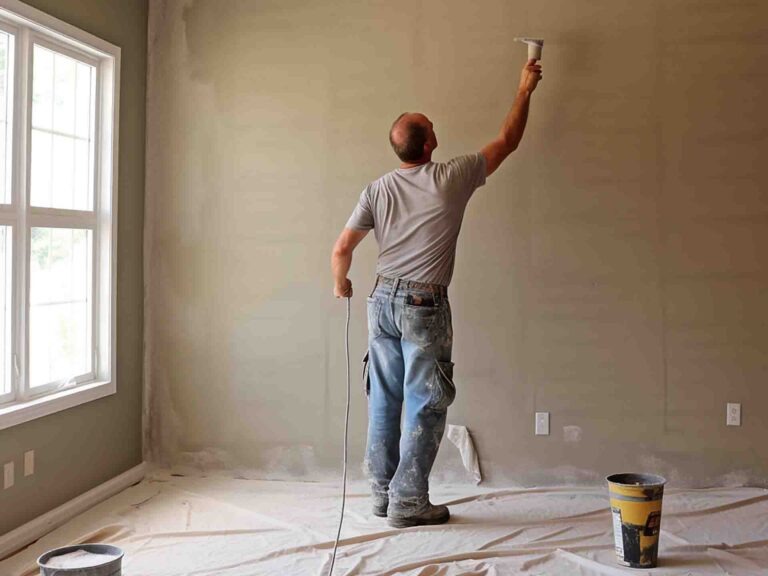
Table of Contents
ToggleEach type of vinyl wallpaper offers unique benefits depending on your space and design goals:
Perfect for renters or quick refreshes — no paste needed. Just peel, stick, and smooth.
Looks like natural fibers but is easier to clean and more moisture-resistant. Great for kitchens and bathrooms.
Adds depth and dimension. Popular for accent walls or modern spaces in Lakewood and Centennial.
To properly install vinyl wallpaper, prepare the following tools:
Wallpaper (enough rolls with matched pattern)
Wallpaper paste or adhesive (if not peel-and-stick)
Smoothing brush or plastic squeegee
Measuring tape and level
Utility knife or wallpaper trimmer
Adhesive brush or roller
Ladder or step stool
Prepare the wall
Clean, smooth, and dry the surface. Remove old wallpaper or patch imperfections.
Cut the wallpaper
Measure the height of your wall and cut each strip with a bit of excess for trimming.
Apply the adhesive
If using traditional vinyl wallpaper, apply paste to the back or directly on the wall (check manufacturer instructions).
Hang the wallpaper
Start from a corner or plumb line. Smooth with a squeegee from the center outward to remove air bubbles.
Trim the edges
Use a sharp utility knife to cut off excess at the ceiling, floor, or corners.
Clean up
Wipe any adhesive from the wallpaper surface. Let it dry completely before rearranging furniture.
Peel off the top vinyl layer
Soak the backing paper with warm water
Gently scrape using a wallpaper scraper
Clean the wall of glue residue
Score the wallpaper with a scoring tool
Apply water or remover
Scrape carefully to avoid damaging drywall
Rinse and dry the surface
We work with trusted premium manufacturers:
These materials perform reliably across Colorado’s dry winters and strong sunlight. High-quality materials + skilled installation = flawless results.
EnjoyTheWall installs 3D murals throughout Colorado, with a main focus on the Denver metro area, including:
Denver
Aurora
Lakewood
Centennial
Castle Rock
Boulder
Colorado Springs
👉 Want to see if we serve your city? Check our full Service Area list.
Yes. It’s renter-friendly and leaves little to no damage when removed properly.
Absolutely. Vinyl is moisture-resistant and ideal for humid areas.
Yes, we install wallpaper you’ve purchased, including custom or designer rolls.
Whether you’re refreshing a single wall or redesigning your entire home, EnjoyTheWall offers expert vinyl wallpaper installation throughout the Denver metro area. Let’s bring your vision to life — beautifully and professionally.
