
Home » DIY wallpaper application: art and practice
Updated June 2025
Applying wallpaper on your own might seem like a challenging task at first glance. However, with proper preparation, clear instructions, and a bit of patience, it becomes entirely achievable. In this article, we’ll walk you through how to self-install wallpaper step by step and highlight some of the challenges you might encounter along the way. You’ll see that DIY wallpaper application is not only a practical task—it’s also an art form!
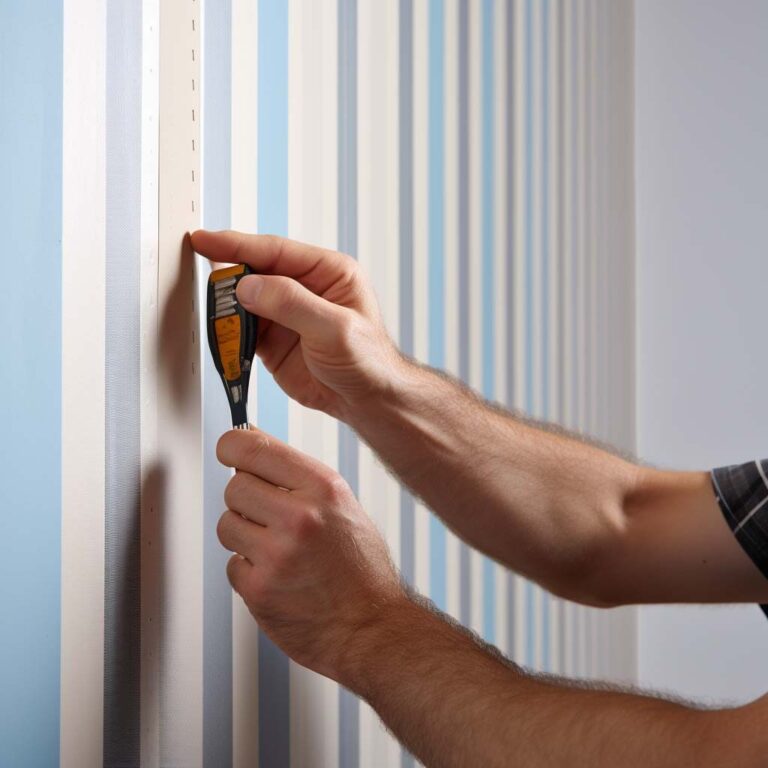
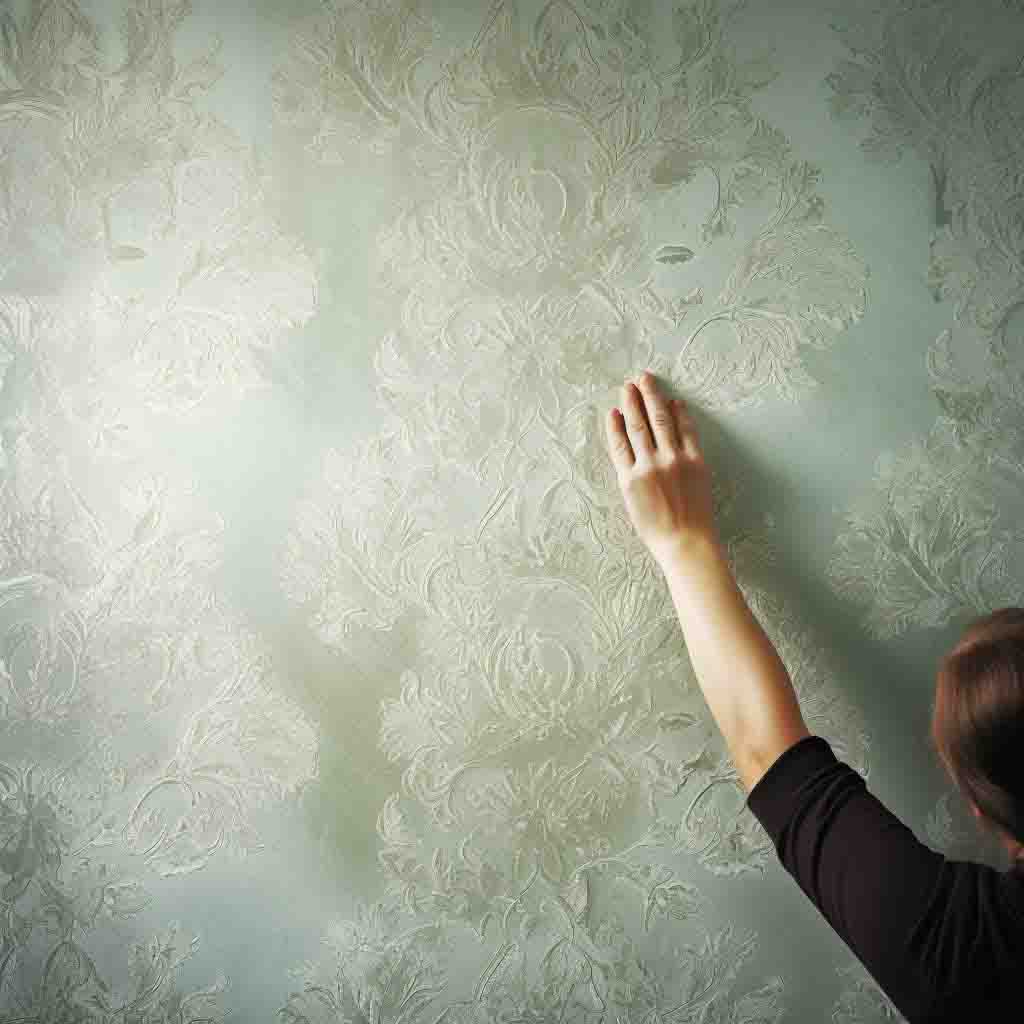
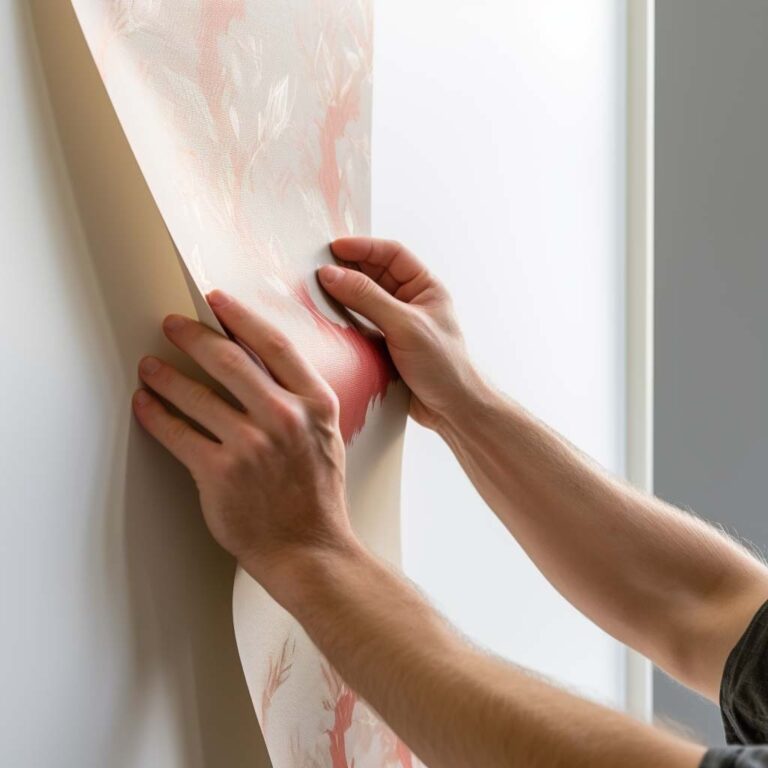
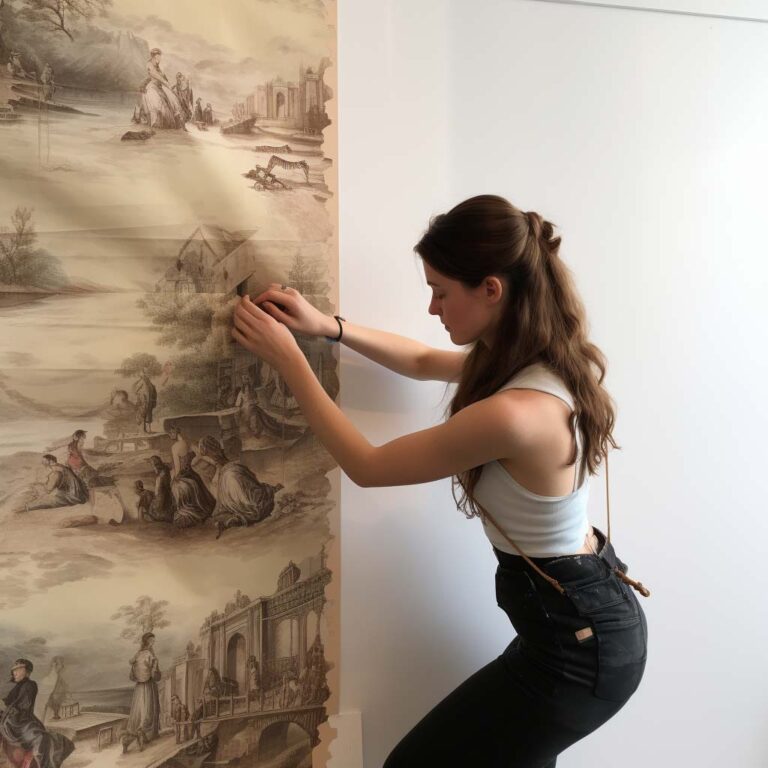
Table of Contents
ToggleProper preparation sets the foundation for a successful wallpaper project. Without it, even the most beautiful wallpaper may not look its best. Here’s what you need to do before you begin:
🧩 Choose the Right Wallpaper
Start by selecting wallpaper that fits your aesthetic and complements your interior. Pay attention to texture, pattern, and color. These elements should blend well with your furniture, lighting, and overall room theme.
🧼 Prepare the Surface
Next, make sure the wall is clean, smooth, and dry. Remove any old wallpaper and repair imperfections using filler or spackle. If needed, sand the wall to ensure a flat surface.
🛠️ Gather Tools and Materials
Before you begin, collect everything you’ll need: wallpaper rolls, a sharp wallpaper knife, adhesive, a brush or roller, a sponge, a plumb bob, measuring tape, a ruler, and a smoothing tool. Having all your tools ready will save time and reduce stress during the process.
Once your wall is ready, it’s time to apply the wallpaper. Here’s how to do it, step by step:
✂️ Measure and Cut
First, measure the height of your wall and cut the wallpaper accordingly—usually 4 to 6 inches longer than needed to allow for trimming. This extra length ensures a precise fit.
🖌️ Apply the Adhesive
Apply wallpaper adhesive to the back of the wallpaper strip using a roller or brush. Then, gently fold the strip (known as “booking”) and let it sit for a few minutes so the glue activates evenly.
📐 Attach the Wallpaper to the Wall
Using a plumb bob or level, align the top edge of the strip with the ceiling line and carefully press it to the wall. Smooth it downward using your hands or a soft sponge, working from the center outwards to eliminate air bubbles.
💨 Remove Bubbles and Creases
Smooth the entire surface using a wallpaper brush or plastic smoother. Be patient and thorough—this step makes a big difference in the final look.
🔪 Trim the Excess
Use a sharp utility knife to trim extra wallpaper at the ceiling, baseboard, and corners. Take your time to ensure clean, straight cuts without damaging the paper.
While many people succeed at DIY wallpapering, some challenges are common—especially for beginners:
🎯 Pattern Matching
Aligning wallpaper patterns, especially with complex or repeating motifs, can be tricky. Even a slight misalignment may affect the overall look.
🫧 Air Bubbles and Wrinkles
It takes experience to avoid bubbles and creases. Mistakes here can cause peeling later or make the wall look uneven.
🏠 Corners and Obstacles
Applying wallpaper around corners, windows, doors, and outlets requires precision. These areas often trip up even seasoned DIYers.
Therefore, although it’s possible to install wallpaper yourself, professional wallpaper installers have the tools, techniques, and experience to achieve consistently flawless results.
We work with a variety of high-quality wallpaper manufacturers and suppliers, including:
With years of experience, we know that quality materials—combined with skilled craftsmanship—make all the difference.
These brands are great for most rooms, but if you’re planning on installing wallpaper in moisture-prone areas like bathrooms, you’ll want waterproof materials and adhesives. For pro tips and waterproof options, check out our guide on bathroom wallpaper waterproof solutions.
EnjoyTheWall installs wallpaper across the Denver metro area, including:
Denver
Aurora
Lakewood
Centennial
Castle Rock
Boulder
Colorado Springs
👉 Want to see if we serve your city? Check our full Service Area list.
Yes, but use moisture-resistant materials and professional-grade adhesive.
For DIY, it depends on the space. For pros, usually 1–2 days.
Absolutely. It creates an elegant layered effect.
Whether you’re planning a DIY project or prefer professional help, EnjoyTheWall is here to assist. From design advice to precise installation, we bring years of experience and passion to every wall.